
Vandubbi: a wireless underwater ROV built from PVC pipe
Published:
We built a submarine out of PVC pipe. It’s called Vandubbi. It’s a wireless remotely operated underwater vehicle with a live video feed, and we showed it at Quark, our campus technical festival, earlier this month. This is the build story, with the numbers, while I still remember the details.
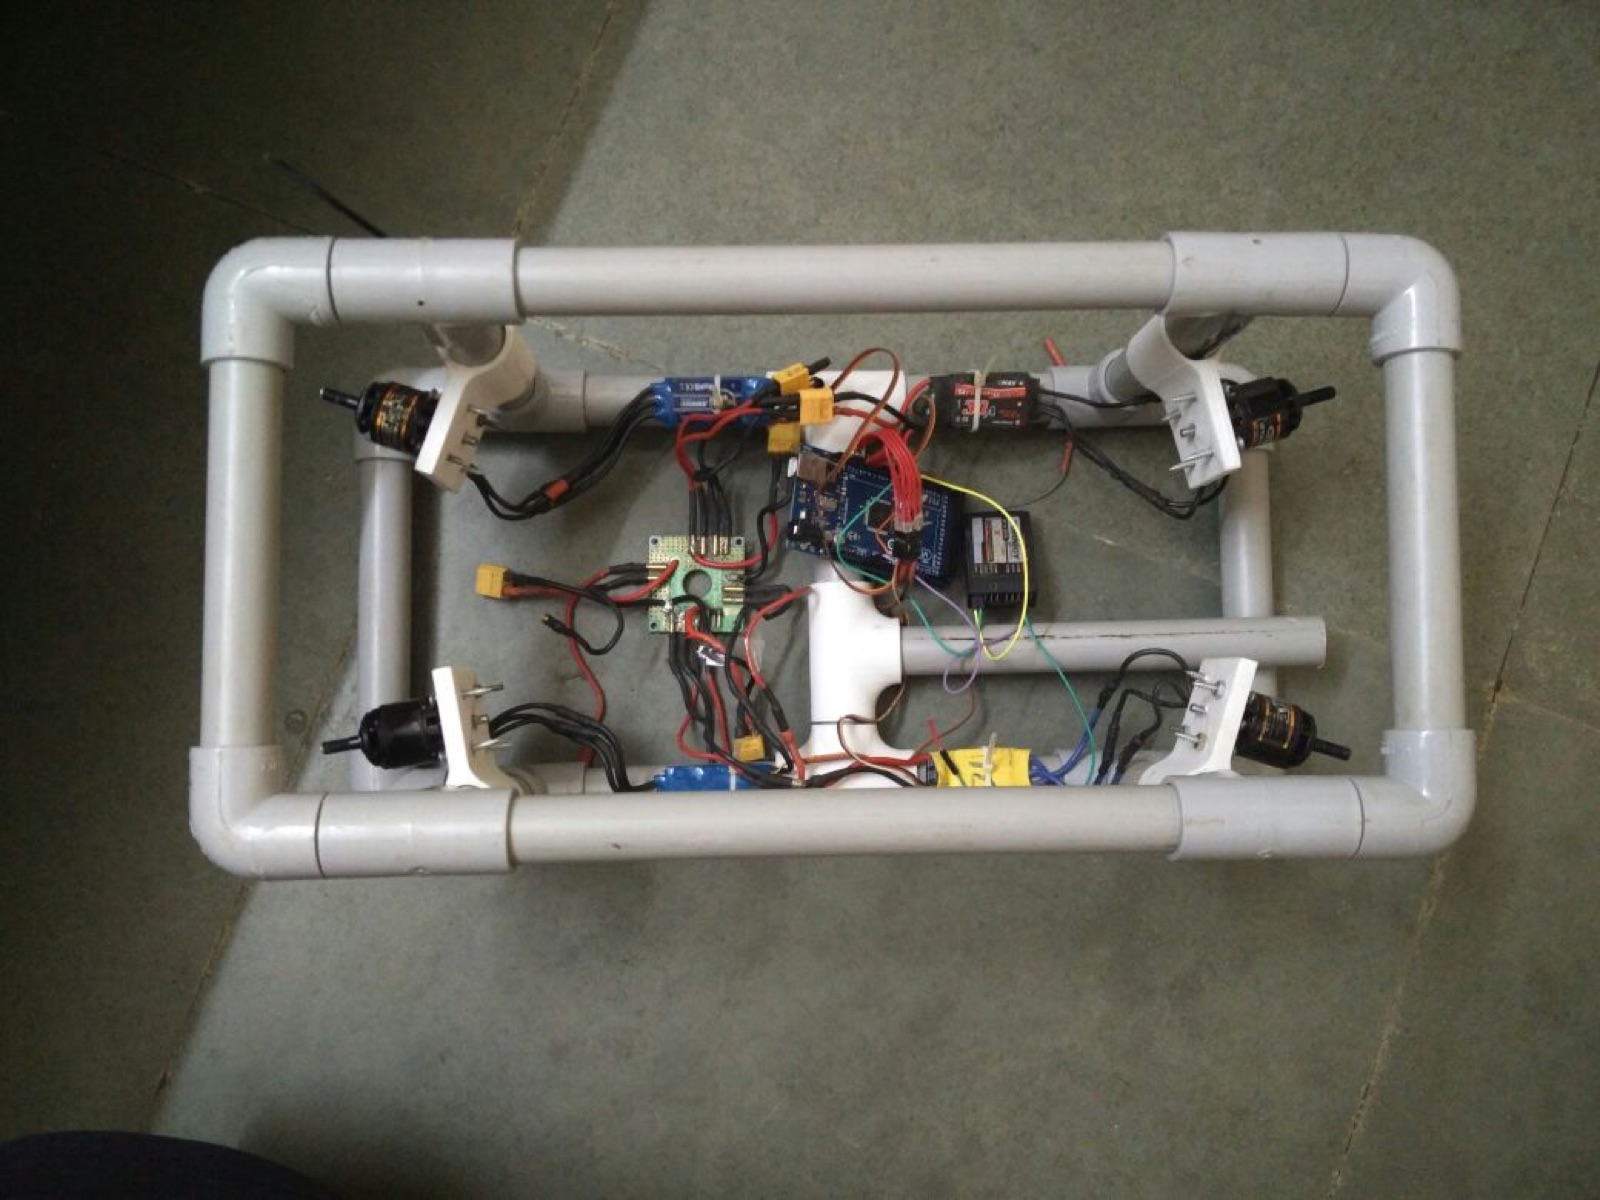
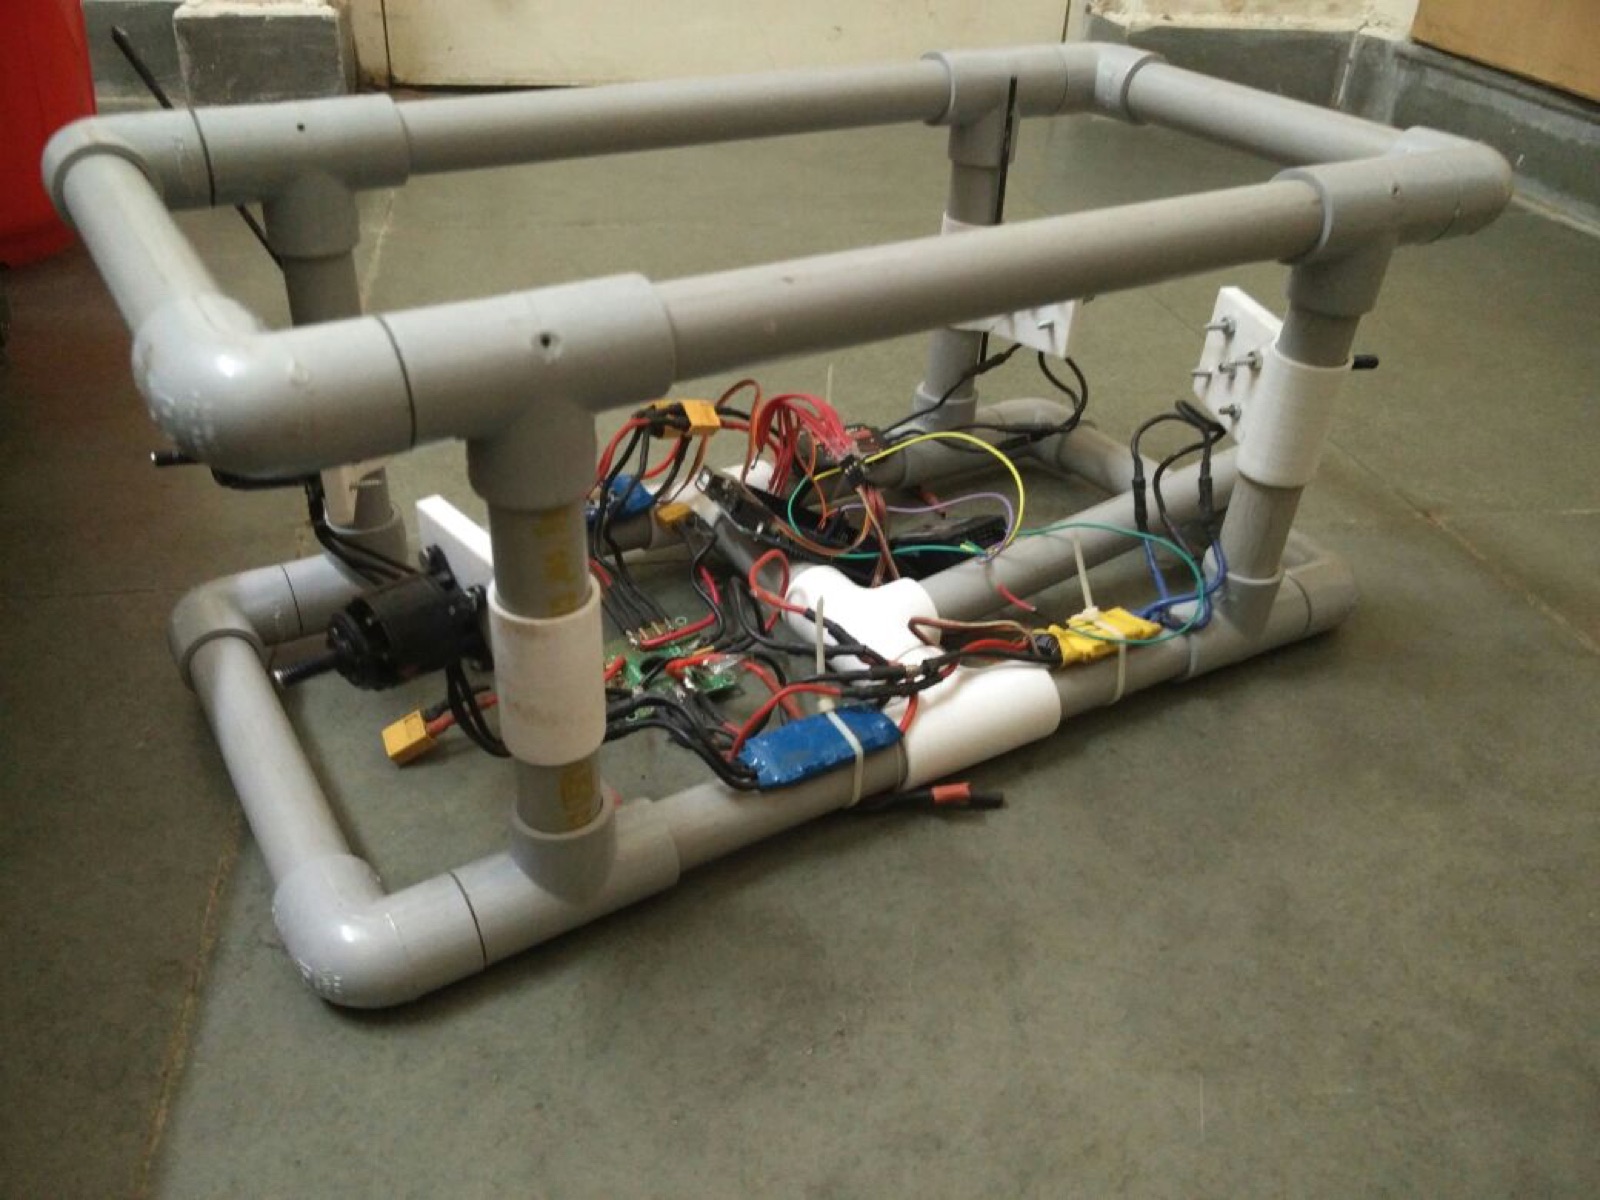
The chassis is PVC pipe. It’s cheap, strong for its weight, naturally buoyant, and easy to cut with hand tools in a hostel room. When a design turns out wrong, the failed version becomes spare parts for the next one. The frame is also free-flooding. Water moves through it, so there’s no pressure hull to implode, and the depth rating is set by the weakest sealed part (the electronics box, the camera, the motor caps). We started from the SeaPerch build manual and by the second frame had moved to our own design.
Thrust comes from brushless motors at the corners, driven through ESCs, with propellers and motor mounts we 3D printed ourselves and printed caps sealing the motors. An Arduino reads the radio receiver channels and maps them onto the thruster pairs. Yaw is differential thrust: speed up one side, slow the other, and the frame turns without a rudder. The propellers came from the open hardware community as parametric designs. We resized and reprinted them until the bollard pull (static thrust with the frame held in place) was worth the current draw.
Control: receiver to thrusters
The receiver hands the Arduino three channels of hobby-standard PWM: a pulse every 20 milliseconds whose width, roughly 1000 to 2000 microseconds, encodes the stick position. The sketch reads each channel with a blocking pulseIn call, applies a deadband, and drives the motor pairs. Our transmitter reads about 1400 to 1470 with the sticks centered, so the deadband spans 1300 to 1500. Inside it the thrusters idle, below it one direction engages, above it the other.
pulseIn is a blocking call. It spins until the pin goes high, measures the high time, and returns. With a signal present, the wait for the next rising edge is up to 20 ms and the measurement is 1 to 2 ms, so three channels read one after another cost up to about 66 ms per loop, and the vehicle can’t respond faster than that. Without a signal, the default pulseIn timeout is a full second, so a dropped link would freeze the loop for three seconds per iteration. The sketch passes a 25 ms timeout instead, and treats a zero return as its own state: all thrusters off.
So V1 is bang-bang control. Each axis is fully on or fully off, the pilot modulates by pulsing the sticks, and the reads put a few tens of milliseconds between a command and the thrusters responding. Underwater, where everything moves slowly and the vehicle carries its own momentum, this works better than it sounds.
The ESCs need a note of their own. They’re hobby aircraft ESCs running sensorless commutation, which means they find the rotor position from the back-EMF on the unpowered phase. That works in air at high rpm. In water a propeller starts under heavy load and the back-EMF is weak at low speed, so a stock ESC stutters or refuses to start. Setting the timing to high and enabling soft start fixed it. We also flashed them with BLHeli in bidirectional mode, so 1500 µs is stop and either side of it is a direction. Stock aircraft ESCs only spin one way.
V2 moves the radio reading off the main loop. The receiver outputs all channels as one PPM sum stream, and a single pin-change interrupt timestamps each edge with micros(), so the channel values update in the background with sub-millisecond latency and the loop is free for control math. Proportional throttle through the ESCs is on the V2 list, and the V2 parts list already has a 9-DOF IMU and a barometric depth sensor on the I2C bus, so the loop becomes: read attitude, read depth, compare to the setpoint, drive the ESCs proportionally.
Waterproofing
Nothing on this vehicle was waterproof when we bought it. At the depths we run, the pressure is small. Two metres of water is 20 kPa above atmospheric, about 0.2 bar, so nothing has to resist crushing. What it has to resist is seepage. The electronics live in a plastic food-storage box that seals with a silicone gasket in the lid, clamped by four latches. Cables leave through PG7 compression glands threaded into holes in the box wall, with silicone on the threads. The connectors on the motor leads are potted in epoxy, since a wet connector will short eventually. The rest is the usual hobby toolkit: silicone sealant on every joint that must stay dry, epoxy putty on every suspect fitting, and self-amalgamating tape on anything cylindrical.
Fourteen seconds of the harness coming together on the bench: the food box seated in the frame, the ESC leads run along the pipes, and the bottle ballast in the corners.
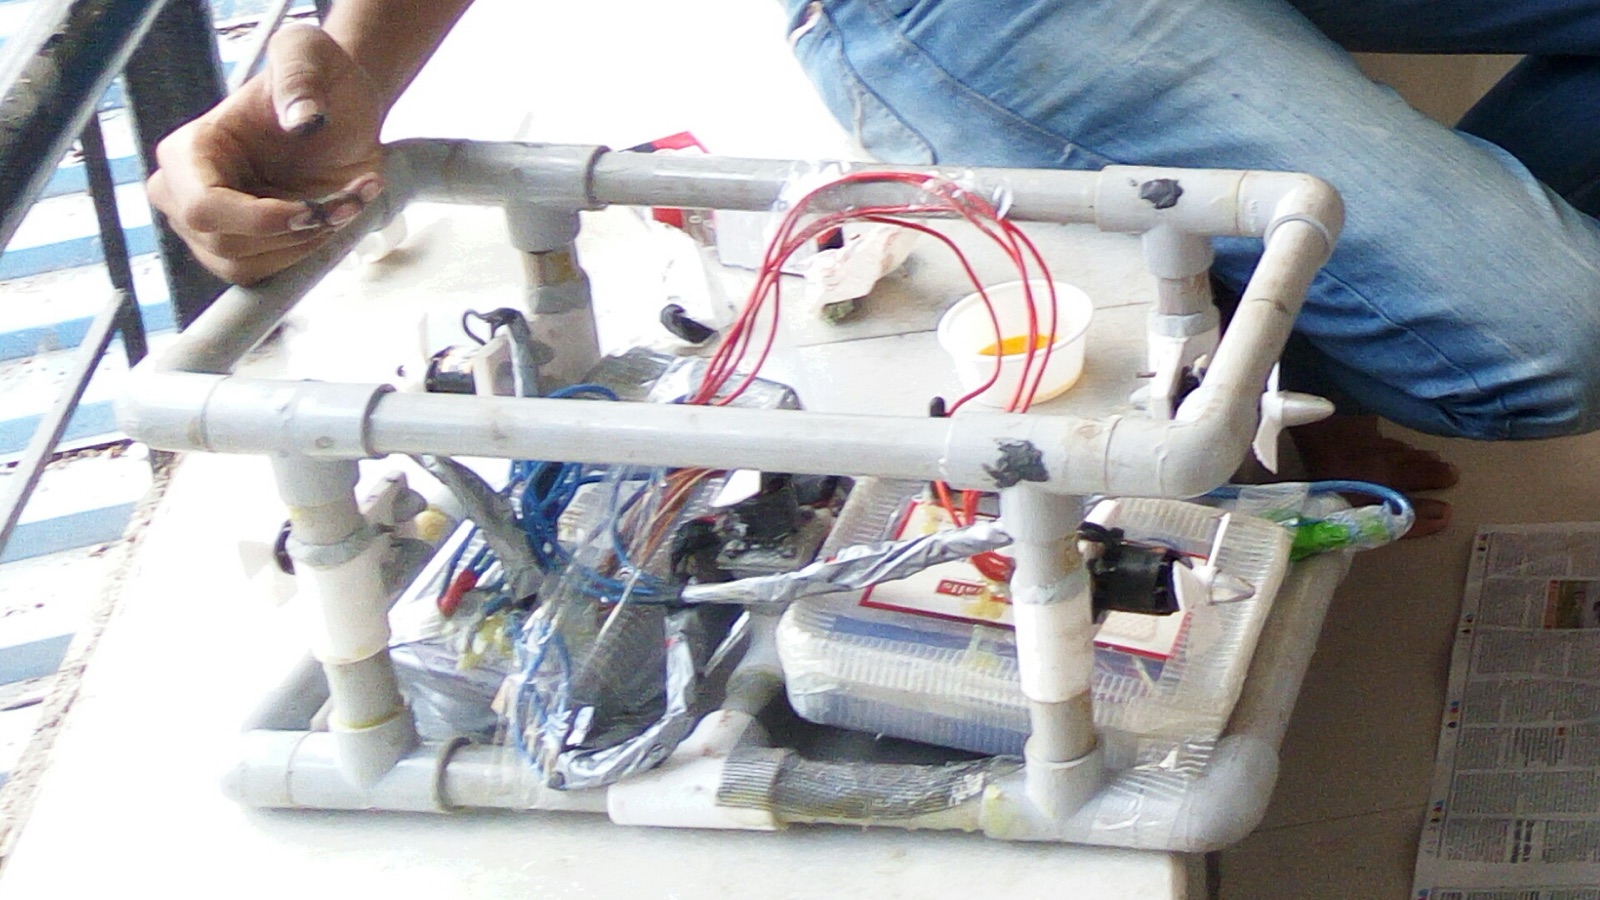
Motor waterproofing is its own problem, because a motor has to let a shaft spin and a spinning shaft can’t be perfectly sealed. The SeaPerch approach pots brushed motors in wax. Brushless motors change the calculation. The windings are sealed in enamel and there are no brushes to short, so some builders run them fully exposed and treat corroding bearings as a consumable. Our motors started out inside taped plastic bags (you can see that in the photo above) and later got caps and covers we designed and 3D printed. We also dry and inspect them after every session, since a printed cap doesn’t cover everything.
The cheap ingress test: seal a dry paper towel inside the box, submerge the assembly, and check the towel in the morning.
The other test rig is a blue bucket in a friend’s bathroom. In December the routine was: lower the frame in, power the thrusters, and watch every seam for the thin line of bubbles that means a cap has failed.
Specs
Vandubbi V1 runs for 20 minutes on a charge of its LiPo batteries in still water and carries a payload of up to 4 kg. The transmitter is rated for about a kilometer of clear air. Across water, with the antennas near the surface, we’ve tested the link to about 20 meters, which covers every pool we can get into. The FPV set transmits live video on 5.8 GHz to a headset, with battery voltage overlaid on the picture. A focused LED on the nose keeps the camera useful in dark water.
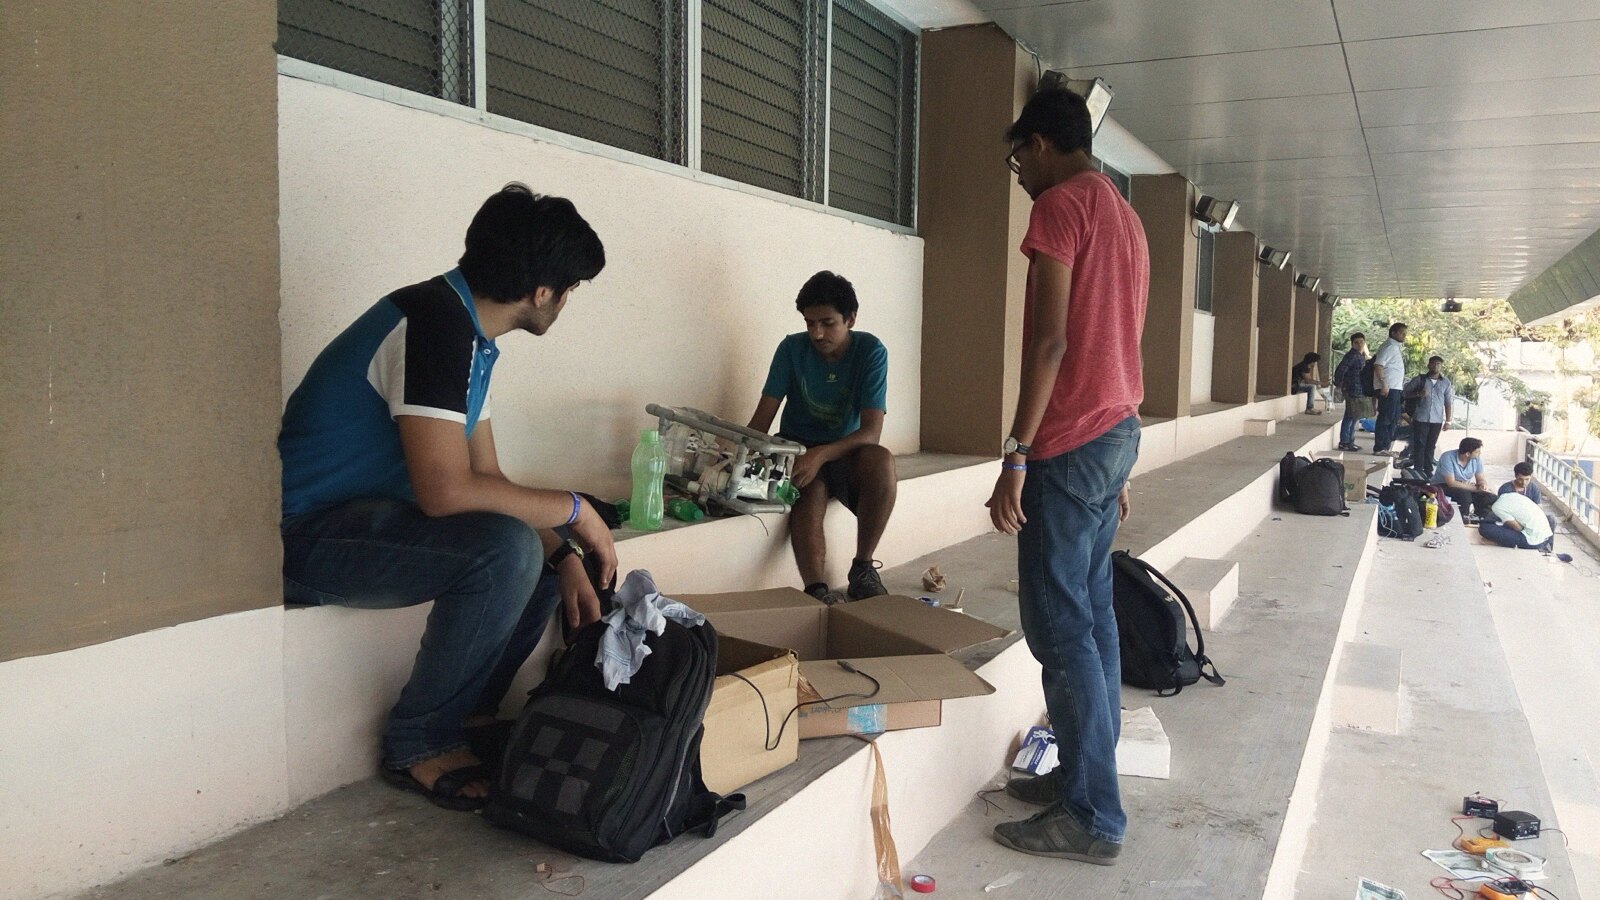
Test days look like this: the frame travels in a cardboard box, the chargers spread along a corridor, and a multimeter checks everything.
Thrust, drag, and battery
We measured bollard pull by tying the frame to a luggage scale at the pool edge and running one thruster at full throttle: about 0.7 kgf per thruster. Propeller thrust scales as T = ρ n² D⁴ K_T, and working that backwards from the measured pull, the 60 mm printed propeller has a thrust coefficient K_T of about 0.1, which is a respectable number for a two-blade prop. So the prints were fine and the motors were the limit.
Drag sets the top speed. F = ½ ρ C_d A v². The frame’s frontal area is about 0.06 m² and a boxy PVC frame has a C_d around 1.2, so at 0.5 m/s the drag is 9 N. Two forward thrusters give 14 N, which puts the top speed a little above 0.6 m/s. That’s slow, but fine for inspection, and it’s why momentum matters more than loop latency.
One 3S 2200 mAh pack gives the 20 minutes in still water, which works out to an average draw of about 6.5 A across the four thrusters, the camera, the video transmitter, and the LED. Full throttle on all four draws far more, but in practice the pilot pulses.
Buoyancy and trim
Propulsion and video are the parts people ask about. Buoyancy is the part that took most of our evenings, because a payload that can vary by 4 kg will flip a small vehicle that was trimmed for neutral.
Our answer is bottles. By Archimedes, every liter of displaced water gives a kilogram of lift, so four sealed one-litre bottles at the corners give 4 kgf, which is the payload rating. They act as adjustable ballast in reverse, and moving them trims the vehicle to whatever the payload does to the balance. The frame pipes are drilled at both ends so they flood. A sealed pipe adds buoyancy that shifts with any leak, and we wanted the trim to depend only on the bottles.
Stability comes from geometry. The vehicle weighs about 6 kg in air. The bottles sit above the centre of gravity, so the centre of buoyancy is about 5 cm above it. That separation is the metacentric height GM, and the righting moment for a heel angle θ is M = m g GM sin θ, about 2.9 N·m per radian for this frame. Push the vehicle over by 20° and it comes back with 1 N·m, with no battery spent. We simulated the drag on the frame before committing to the shape, then trusted the pool tests more than the simulation.
Station keeping, holding position against whatever the water is doing, has no autopilot on V1. The pilot does it by watching the FPV feed and feathering the throttles. Closing that loop with sensors is high on the V2 list.
Failsafe
My favorite design decision is the simplest one. The vehicle is trimmed slightly positive, about 100 g of net lift, so when the circuit or the battery fails (a wire, a cell, an ESC), the thrusters stop and Vandubbi floats to the surface at a few centimetres per second. It doesn’t depend on any electronics working.
Radio range underwater
About the word wireless. Water attenuates radio by absorbing it, and at 2.4 GHz fresh water costs about 2.5 dB for every centimetre between the antenna and the surface. Ten centimetres is 25 dB, most of a hobby link’s budget. The 5.8 GHz video link is several times worse, since absorption rises with frequency in this band, and chlorinated pool water is more conductive than tap water, which adds to it.
Commercial ROVs solve this with a tether. We wanted wireless, which means staying shallow. The antennas ride on a short lead just under the surface, and the vehicle runs a body length or two below them. That limits what Vandubbi is for, which is surveillance and inspection near the surface, where a tethered commercial ROV is overkill.
Here are fourteen seconds from a 3 a.m. build session in December, with the buoyancy bottle and a printed propeller:
Cost
We were broke undergraduates with access to a pool. V1 was entirely self-funded by the team. Our pitch for V2 lists the full bill of materials at ₹34,850, most of it the FPV set, the 3D printed parts, and the radio gear, and includes the sentence “funds will eliminate the key Jugaad which is often the reason of fail.” I agree with that sentence more after every pool test.
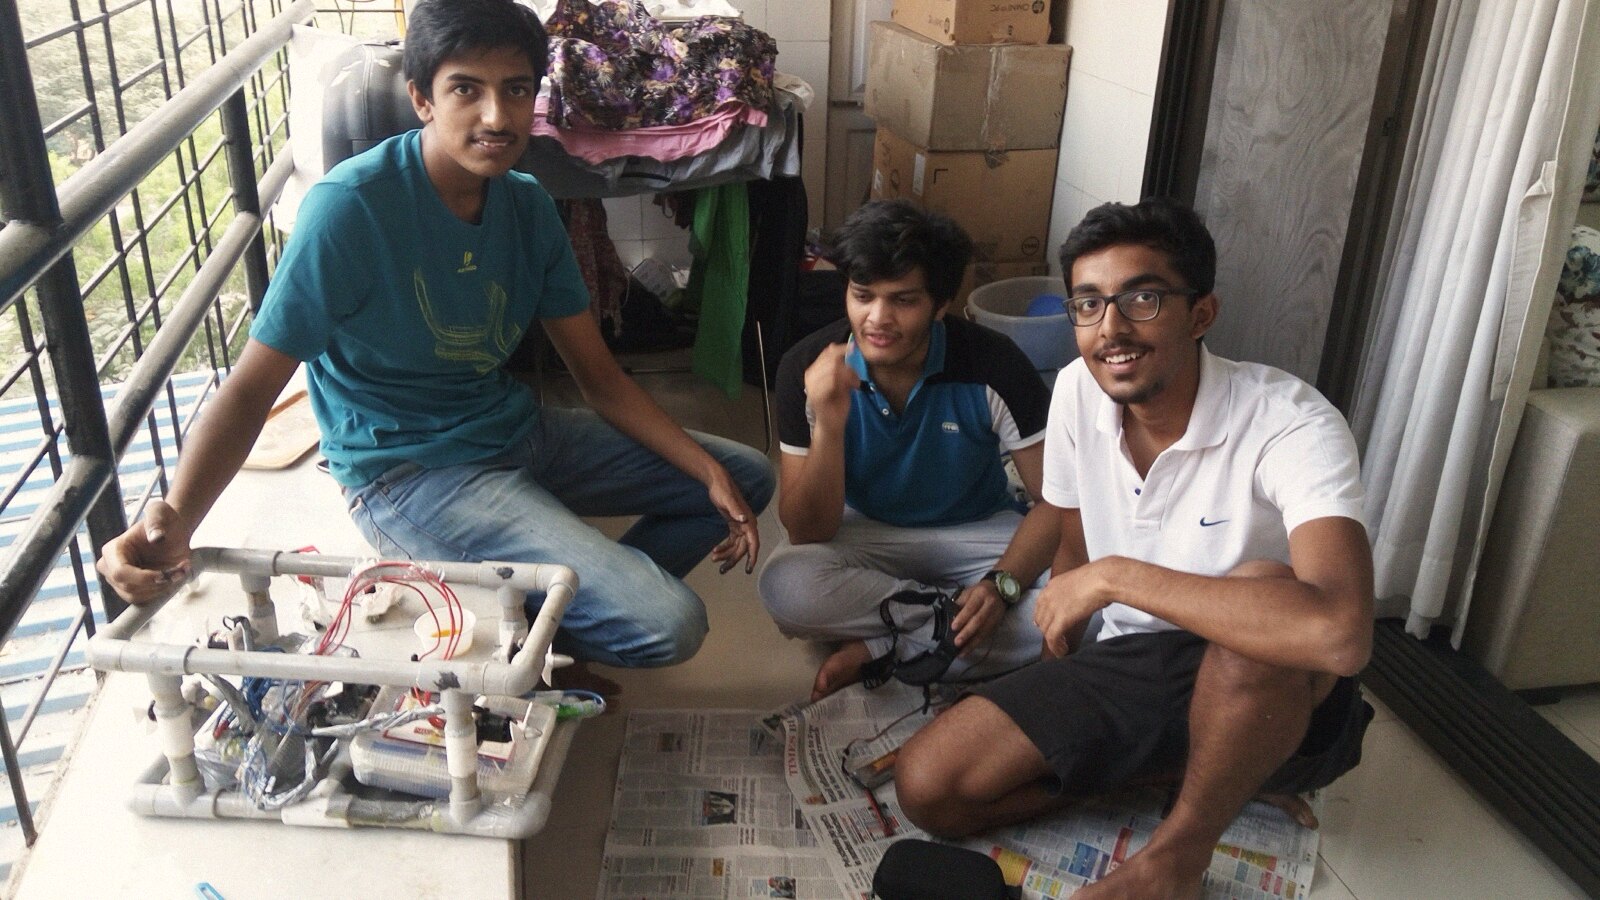
This is the team on a balcony floor around the frame, newspaper spread under the work and the FPV headset going around.
The code and the 3D printable files for V1 are open source in the public domain. Version two is on the drawing board, and it’ll be better, because we now know exactly which parts of version one were held together with tape.
What we learned
- A dropped radio signal looks like a command.
pulseInreturns zero when the signal drops, zero is below the deadband, and below the deadband means thrust in one direction. Silence needs to be its own input state, and the default one-secondpulseIntimeout has to come down to 25 ms or the loop freezes. Trimming the hull slightly positive is the only failsafe that doesn’t need code. - Calibrate to your own transmitter. Ours idles at 1400 to 1470 against a nominal 1500 center. A deadband copied from a forum would have had the bot swimming in circles at neutral sticks.
- A seam that gives one bubble per second in a bucket floods at pool depth. The bucket test shows you which seam is weak. The paper towel tells you whether it leaked.
- Sliding a bottle two centimeters did more for trim than an hour of throttle tuning. Moving a bottle uses no power and running a thruster does.
- Sensorless ESCs stall on a water-loaded propeller at stock timing. High timing plus soft start fixed the starts, and bidirectional firmware is what makes 1500 µs mean stop.
- Water costs about 2.5 dB per centimetre at 2.4 GHz. The antennas have to stay at the surface, so Vandubbi is a shallow wireless bot. Admitting that early kept us from designing a vehicle we couldn’t build.